Fluids and Filters and Plugs, Oh My! ...
I have grown to really appreciate the boat’s 8HP outboard motor. This little four-cycle engine starts easily, runs quietly and pushes the boat along at 4 knots at a midrange RPM; it uses only about a half gallon of fuel each hour at that power setting. Now that the boat’s on the hard, it’s a great opportunity to do the annual maintenance and keep the Yamaha purring along dependably. Time to pull out my metric sockets!
GEARBOX OIL
First up is the gear oil and two concerns immediately come to mind: Can I get the drain screws out without stripping them and will the old oil be contaminated with water? Thankfully, the answer to the former was “yes” and the answer to the latter was “no”!

As you can see, the used gear oil was dark mocha, which means it needs to be changed, but it shows no evidence of the dreaded milkshake color or consistency; this is a great indication that the seals on the gearbox are still doing their job and keeping the water out and the oil in. After putting new pre-oiled gaskets on the drain plugs, I pumped new 90W gear oil into the gearbox (from the BOTTOM drain hole) until full, installed the top plug and then disconnected the fill hose and quickly installed the bottom plug, losing only a dribble of fluid in the interim.

ENGINE OIL
SPARK PLUGS
I removed the old spark plugs, gapped the new ones (a bit over .035), put some anti-seize compound on the threads, carefully reinstalled by hand, then torqued to 18 ft-lbs. The old plugs (which I kept as backups) had light carbon deposits on the electrodes and threads; I’m certainly no expert, but to me this seems normal. I wish I had a compression tester, but I don’t; the engine runs fine and the plugs’ wear and deposits indicate to me that all is well.
 |
| Old/new plug comparison |

CHASSIS LUBRICATION
I lubed all ten of the recommended points on the engine with marine grease which gave me a chance to inspect everything closely. All linkages, cables, hinge points, etc. looked to be in good shape.

PROPELLER

Once the prop and thrust bearing were removed I could inspect the shaft and seals. I found no fishing line wrapped around the shaft and saw no damage or corrosion. The seals looked good (which was expected since the old gear oil looked good), so I re-greased the shaft and started reinstalling everything. Uh oh ... which way does the thrust bearing go on? It took me about five minutes of staring at the manual, the bearing and the back of the gearbox to finally figure out the 45 degree chamfer on the front of the thrust bearing mates up with the 45 degree chamfer on the back of the gear box. Once everything was reassembled, I torqued the castle nut to 12 ft-lbs and Lo-and-Behold the hole on the shaft lined up perfectly with the notch on the castle nut which made installing the new cotter pin a cinch.


FUEL FILTER
I changed the fuel filter and then cut the old one open to see how dirty it was; the inner screen was virtually contaminant-free so replacing the filter wasn’t even necessary. Why doesn’t Yamaha make these out of clear plastic so we can actually see what the filter is straining out and know if it’s clogged or not? Using opaque plastic is a terrible idea for operators but it does guarantee that Yamaha will always have a consistent demand for new filters.

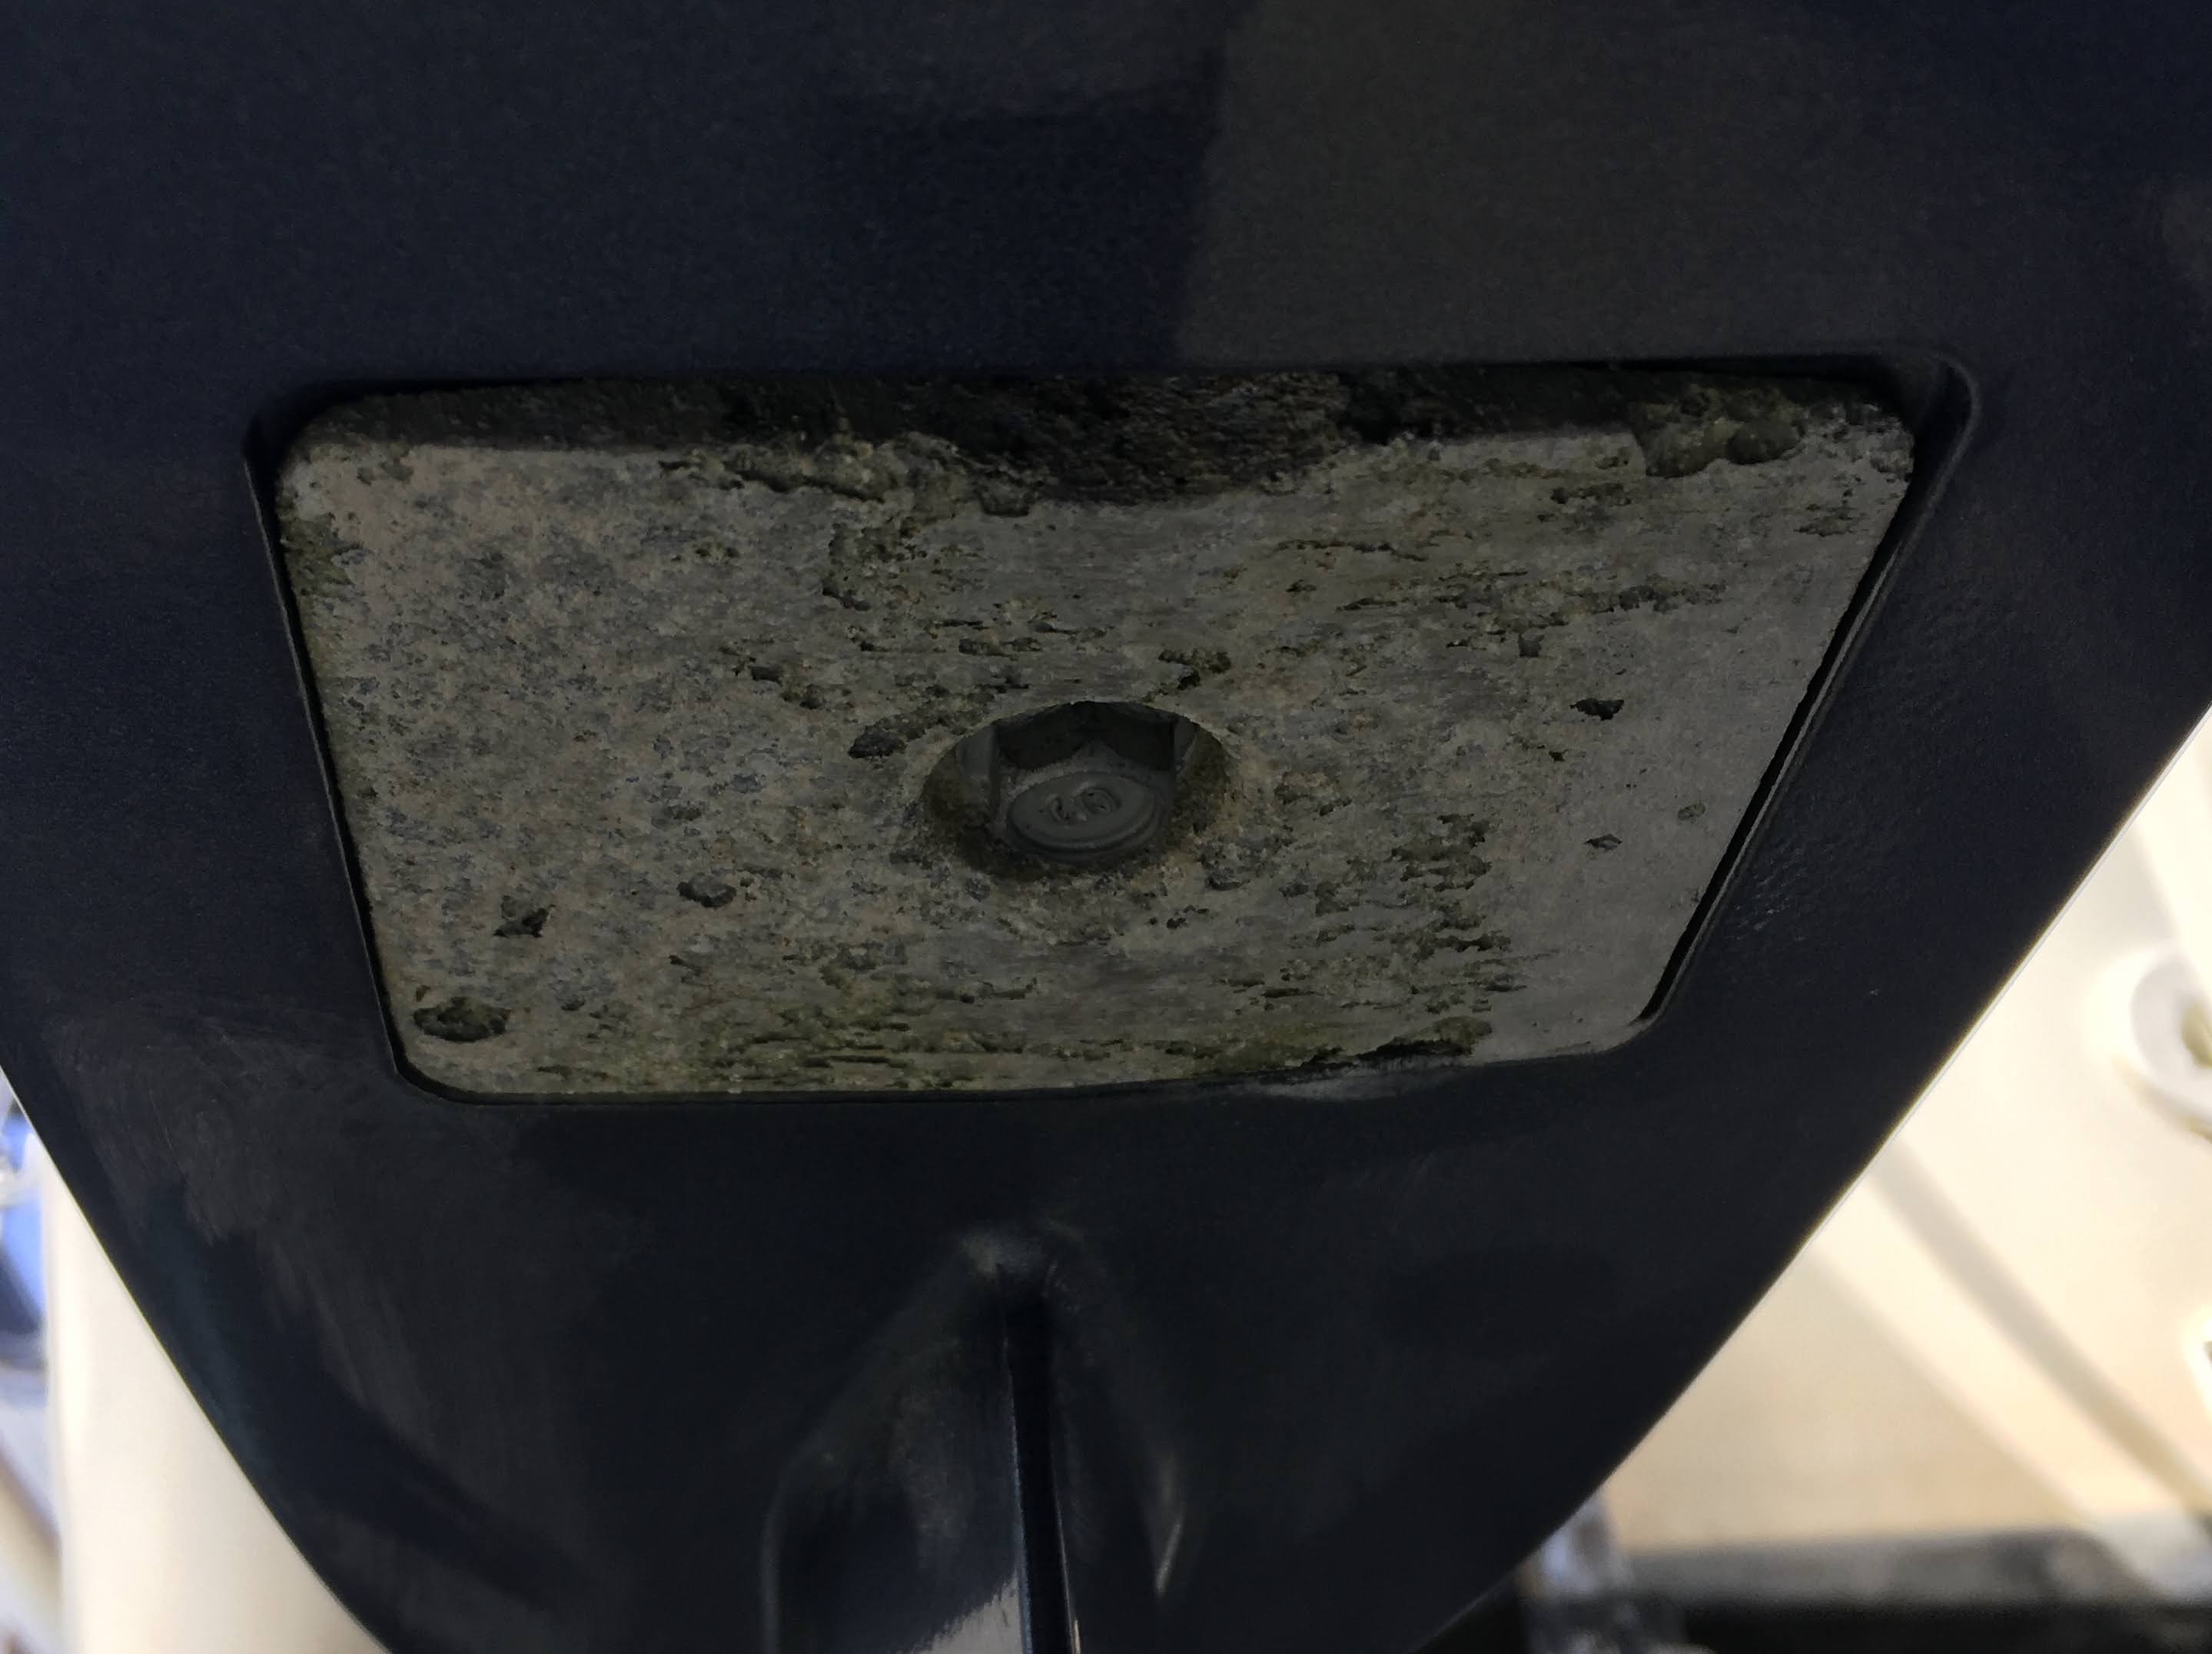
ANODE
I found the old sacrificial anode bolted underneath the anti-cavitation plate. It looked to be in good condition, but I had already purchased a new one so I replaced it as well. I couldn’t find any guidance about recommended torque for the retention bolt or the need to use thread locker, so I just tightened it an appropriate amount using the TSAR method (TSAR=“that seems about right”)

THERMOSTAT


I cleaned the mating surfaces, installed the new gasket, new thermostat, cover housing and torqued the attachment bolts to 6 ft-lb (8 N-m). After reinstalling the two covers and spark plug wires, I ran the engine up to temperature and ensured cooling water was flowing through the top attachment hose and did not observe any leaks. The old thermostat opened and closed at the correct temperatures, so I kept it as a spare.


FUEL PUMP
I had noticed an occasional whiff of gasoline vapor when I removed the cowling to check the oil. By placing paper napkins under the fuel line run and squeezing the primer bulb, I was able to locate a small leak at the base of the fuel pump.

After removing and disassembling the pump I thought I’d found the issue: some crud had built up in grooves of the cover plate and the front face of the aft diaphragm. I forgot to take a “Before” picture, but here’s what the cover plate looked like after removing the crud with a little “mechanical persuasion”:

I cleaned both cover plates thoroughly with acetone and bought a new diaphragm. The other diaphragm (the one with the plunger) looked fine to me so I reused it.


After reassembling (twice…the plunger housing is NOT symmetrical and you gotta make sure the slot next to the plunger ends up on the correct side!) and reinstalling, I tested for leaks by first squeezing the primer bulb, then actuating the starter motor in short bursts with the plug wires disconnected, then finally by starting the motor and letting it run for awhile at various RPM settings; no leaks were noted!
The owner’s manual also recommended inspecting/replacing the water pump impeller but the engine produces a strong stream of cooling water when running, even at idle, so since I’m just a shade tree mechanic who has never actually dropped the lower unit and pulled apart the water pump, I went with the “if it ain’t broke, don’t fix it” philosophy...
To return to the Home page, click HERE
Yamaha F8 outboard parts diagram